| Info |
|---|
Transfers are currently limited to classes with the same price and the same registration form (either the Standard form or a class-specific form). The transfer process does not impact or adjust previously-made payments or existing payment plans at this time. |
To transfer a student to a different class than the one they originally registered for, first find the student you'd like to transfer from the class Roster.
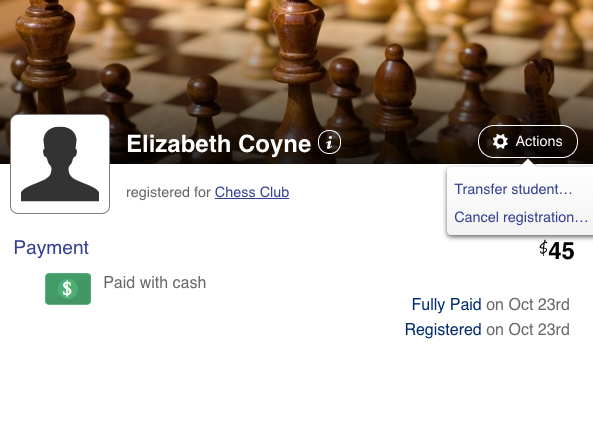
Click on their name and you'll be taken to the their Registration screen.
...
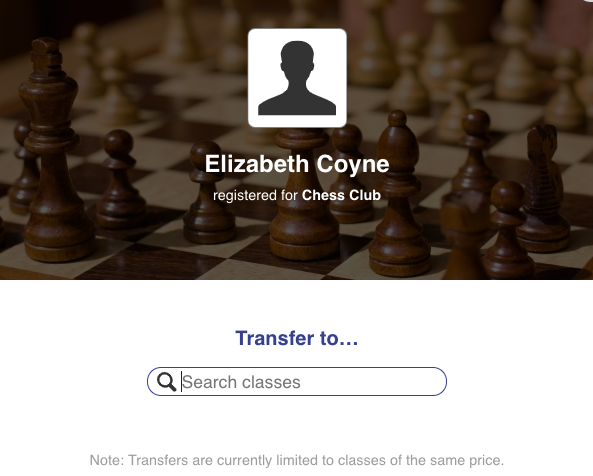
Here, all you need to do is click Actions, then Transfer Student and then enter the name of the class you'd like to transfer them to.
...
Select the destination class from the Results list.
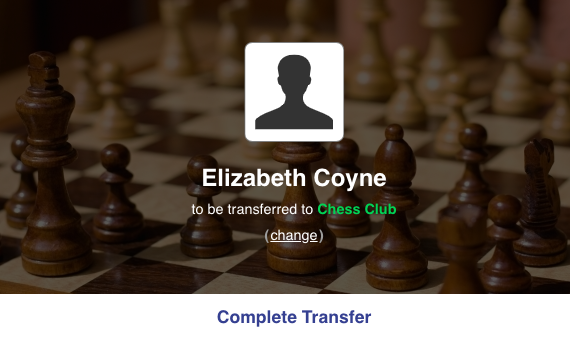
Once you select the new class, all you need to do is confirm the transfer and you're done. The transfer information will be added to the registration history automatically.
...
If your site utilizes the sessions plugin, you will be given the option to select a session of that class.
...
Next, you’ll review certain details pertaining to the transfer to ensure that the student’s demographic and, if applicable, payment information are up to date.
...
If the destination class is a different type (asks different registration questions) you will be prompted to answer these questions as well.
...
The final review screen will clearly display what will and won’t take place as a result of the transfer and you will have the option to complete the transfer, or go back to make any additional changes.
...
Once you’ve completed the above steps, all that remains is to click transfer!
...


