Adding a Single Class
Adding classes one by one is simple in CourseStorm. We walk you through the screens one by one.
First, find the catalog you'd like to add your class to. Once on the Classes list, click the Add button and select Add a Class, where you will select your class type.
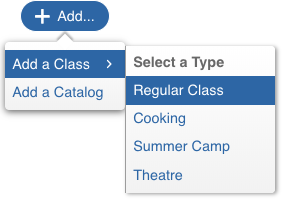
This will launch an overlay screen walking you through the different information you need to set up your class. Each screen you'll see is discussed below.
Jump to:
Basic Info & Photo
As the name suggests, this screen lets you set up the basics for a class: name, instructor, price, etc. You can even add Instructors and Locations inline on this form so you never jump away from the process of adding your class.
For the photo, you can either upload one from your computer or, even better, use our built-in high-quality, royalty-free image search.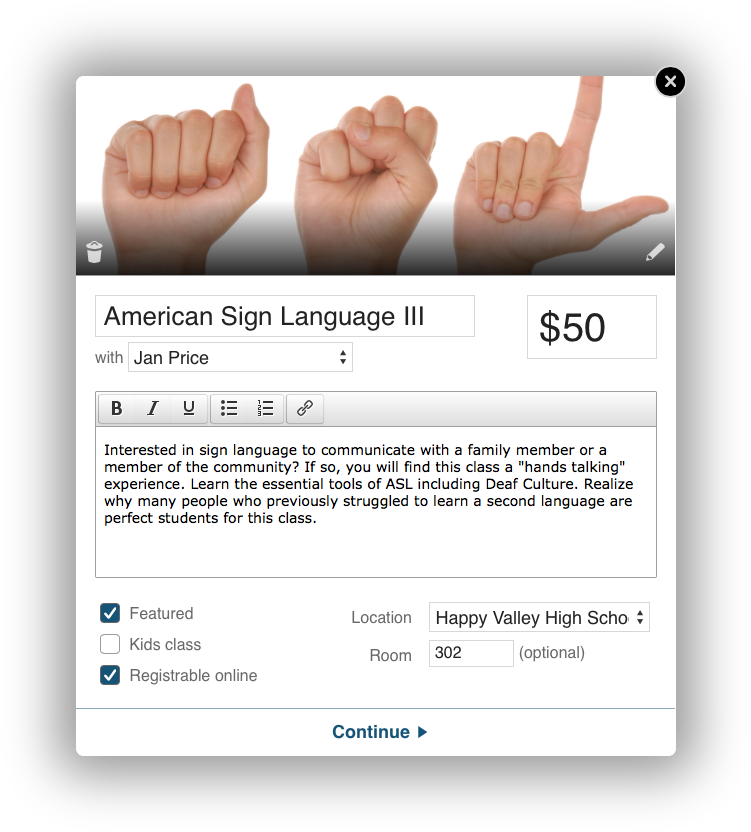
Schedule
Here you'll select the schedule information to display for your registrants. Click once in the calendar to select the start date and select an end date by clicking it next. You'll know the date is properly entered when all of the days in between fill in automatically to indicate the date span. You can even use the arrows at the top of the schedule to move forward and backward in time.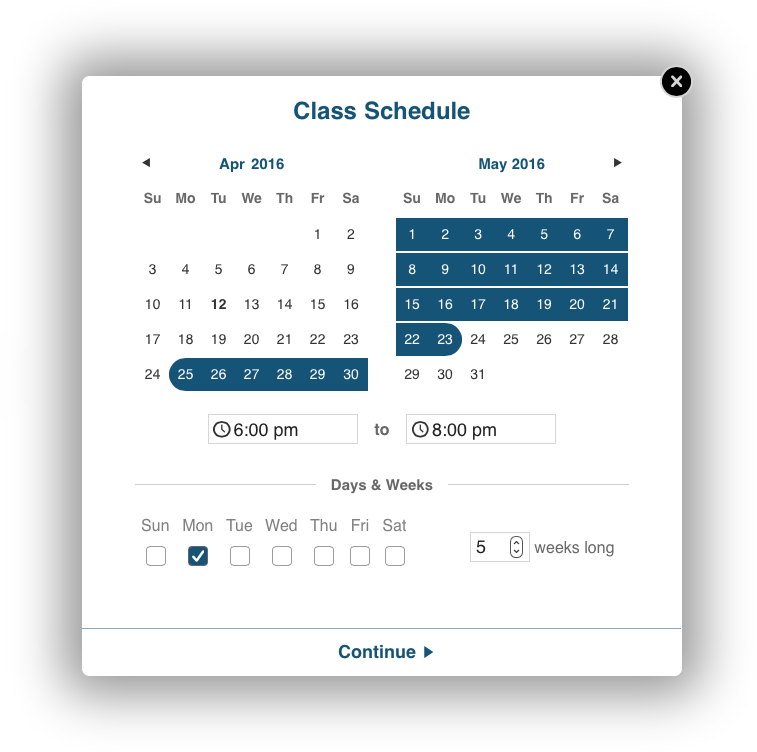
Available Seats
This screen provides controls of the enrollment of the class, letting you specify the number of available seats and controls over when registration ends.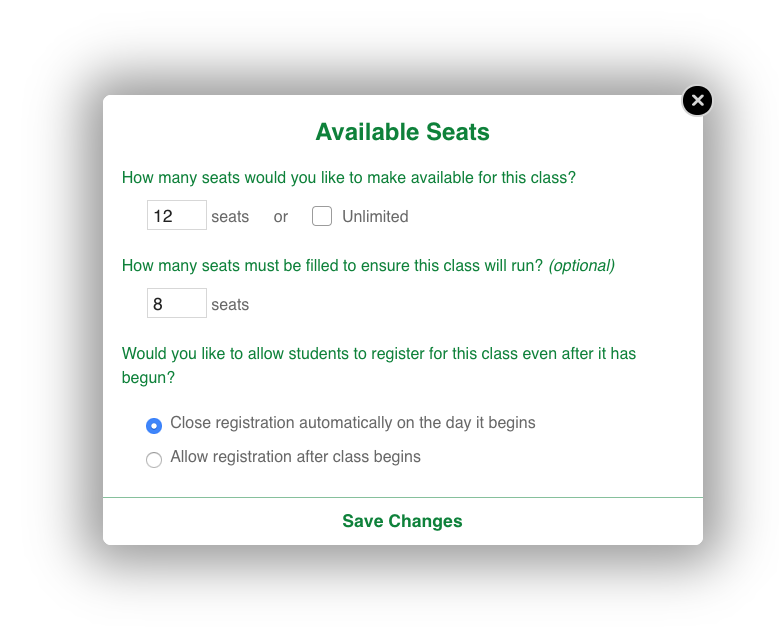
Categories
On the final screen, you can select which categories you'd like to place the class in. Categories are used in your online catalog to make browsing easier for your students. Here you can not only specify the categories, but create them as well. You also have the option of creating subcategories if you so choose.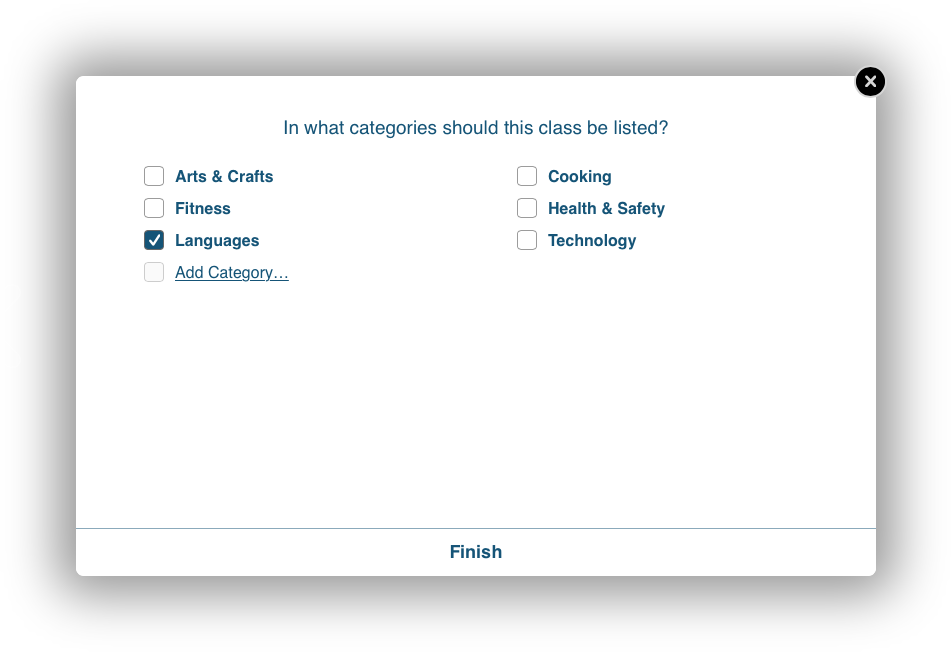
Finish
And that's it. Congratulations -- you've added your first class!
Looking for a walkthrough? Click here: